Brush Fence Installation Guide
Follow our step-by-step guide to successfully install your new brushwood fence.
Installing your own brushwood fence can seem a little daunting, especially if it is your first time. Once you have chosen a design and gathered all the required materials, installation should be a straightforward process. If you get stuck at any point, our team is here to help. We can provide you with support before, during, and after your DIY fence installation.
Being in the brushwood fencing industry since the early 1990s, Bowman Brush has a wealth of knowledge and experience that is freely available to you as you undertake your DIY fence installation. Armed with our instructions, your tools, and the right custom made materials for the job, you can easily complete your own fence installation.
We Recommend Contacting One of Our Installation Partners for Assistance with Brushwood Panel Fence Installs
Check Building Regulations
Wherever you are undertaking a fence installation around Australia, most local councils have strict building regulations. It is crucial to do your research before you put a shovel in the ground. If the installation of your fence does not comply with local building regulations, there is a chance your council will ask you take your new fence down, resulting in a massive waste of time and money.
Building regulations usually apply to the height, location, materials, and construction of your fence. It is advisable to check with your local council regarding any compliance issues relating to your location and property. The materials you choose will also need to be considered, as some councils completely prohibit or restrict the use of certain materials.
Checking for and marking out utilities, such as electricity and gas lines under the ground, is essential to avoid damage and injuries from earthworks. Before you begin digging, we strongly recommend checking with Dial Before You Dig.
Once you have completed your planning and have your fencing design in mind, you will need to check if you require a building permit. Permits may be required for some installations, so it is recommended you check this early in your planning.
Planning is Important

All successful DIY fencing installation projects start with a good plan. Before you do any digging, make sure to lay out your fence design on paper. A common problem with DIY fencing is inaccurate measurements. Before even submitting your order to us, we recommend checking, re-checking, and checking again to be certain. Measure the space where your fencing will go and make sure to include the space for any access gates, where applicable.
D.I.Y Installation Guide
- Mark out postholes at intervals 50mm longer than the panel. For example, when using a 2200mm long panel the post spacing will be 2250mm.
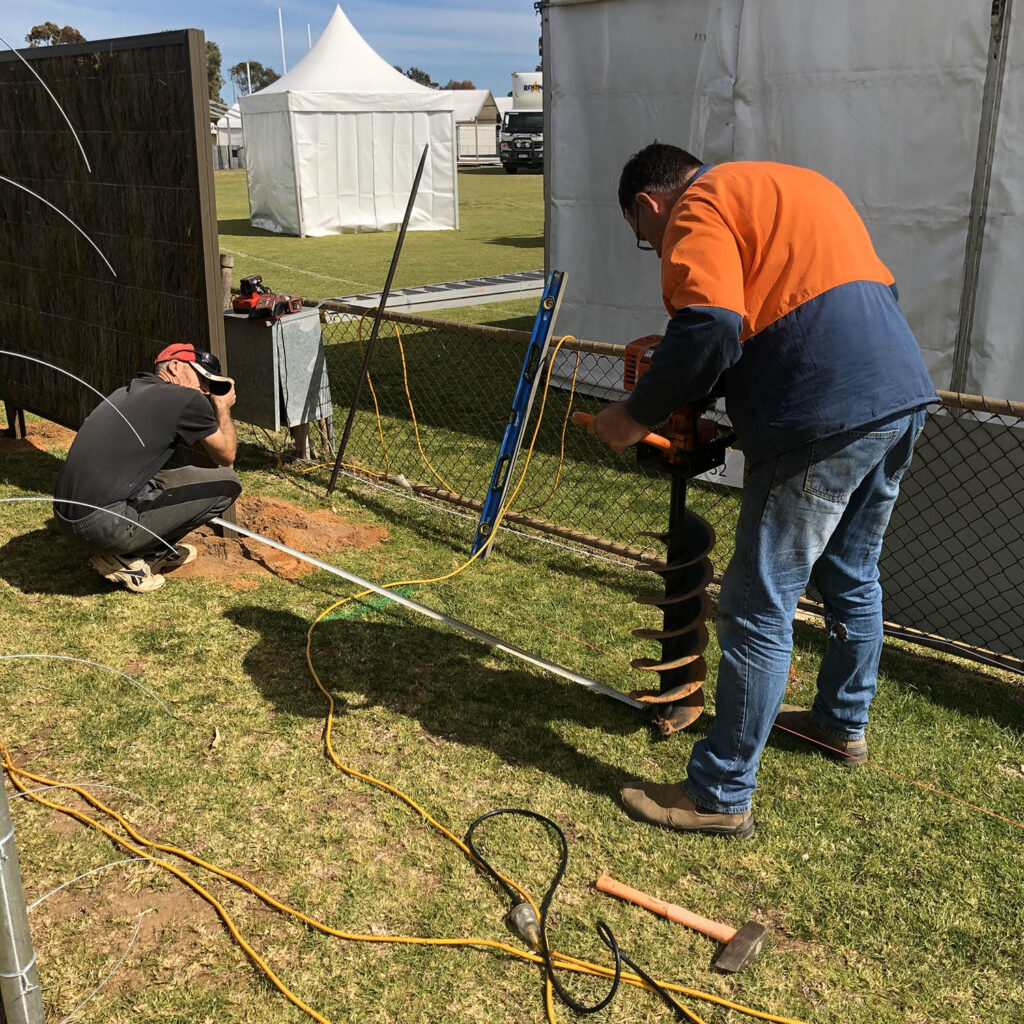
- Bore 300mm diameter holes to 600mm deep and cement posts in, making sure the top of your post is equal to the height of the panel plus the height of your plinth above the concrete level.
- Allow concrete to set to manufacturer specifications.
- Install the plinth firmly between the posts. Where possible, secure to the post for extra stability.
- Install the top rail by placing one edge over the top of the posts and tek screwing in place.
- Stand a panel between two posts (the top rail will help hold it up), ensuring the open part of the staples is on the bottom. Wrap the pairs of wires around the posts and twitch.
- To tension the wires on the panel, first twitch the wires together, then lever using pliers to gain extra tension. Twitch as necessary to finish off.
- Trim wires and fold against post to prevent injury.
- Install post rolls, end rolls, then rolltops as required.
- Markout postholes at required intervals.
- Bore 300mm diameter holes to 600mm deep and cement posts in, making sure the top of your post is set at the panel height plus the height of the plinth.
- Allow concrete to set to manufacturer specifications.
- Install the plinth in front of the posts, securing it to the post for extra stability.
- Secure the rails to the posts at the height of the second from the top and second from the bottom wires of the panel.
- Stand the panel in place against the rails and, using utility hooks and tek screws, secure the panel to the rails every 500mm, making sure the hook secures itself on the wire.
- Join the panels by hooking the wires from each panel around the corresponding wire on the next panel. Pinch the hooks to secure them and cut off excess wire.
- When all panels are secured in place and all wires have been tensioned, place a post roll in front of the posts, ensuring the sticks are facing the same way as the panels and the really leafy side is facing the post. Align the top of the post roll with the top of the post.
- Push the clips over the panel wire on each side of the post with the hook facing down.
- When all post rolls and end rolls are secured on both sides of the fence, place a roll top with the thicker straight wire on top over the top of the panel and top rail making sure it is central. Mould into a circular shape by pushing either side downwards.
- One at a time, straighten the ends of the thicker wire and pull it out of the looped wire. Thread the thick wire through the panel below the top rail and bring the ends to the top. Tension and twist them together. Where two roll tops meet, the sticks will need to be teased together to hide the join.
- Remove excess wire and clean up the site. As the fence is installed using wire, please ensure all off cuts are removed to avoid injury.
- Secure end rolls using the same process as roll tops. See above for instructions.
- Mark out posts at intervals the same length as the panels.
- Bore 300mm diameter holes to 600mm deep.
- Stand panels in place and prop them upright from both sides. Block up the panels underneath to get the correct height (only work with two panels at a time for safety until cement is set).
- Tek screw the two posts together as shown in diagram.
- When panels are in position, pour concrete and allow to set to manufacturer specifications before removing props.
- Position and tek screw in place the post cap plate, if required.
- Repeat process until fence is complete.
So, you want a brushwood panel fence, now what?
Contact your local council for fencing regulations applicable in your area.
Always check with Dial Before You Dig prior to commencing installation.
Choose your installation method, whether it be in-line, post and rail, or framed.
4. Measure the length of your fence or screening area, noting corners and gate entries.
Determine the height and width for the panels you need.
Choose your panel thickness from our range:
a. Screening Only (40mm)
b. Standard (50mm)*
c. Premium (60mm)
d. Super thick (65mm)
Other Materials Required
* Posts: 40mm nominal bore, medium wall galvanised post. For a 1.7m high panel used a 2.4m long post
* Top Rail: 30mm x 30mm x 3mm angle iron
* Plinth: You can use treated pine sleepers, limestone blocks or concrete to provide a strong and sturdy base for the fence to sit on
* Rail: Galvanised steel rails 25 x 38 x 1.6mm
* Hooks: Ramset Utility Hook – See video under post and rail installation
* Please note these are recommendations only and installs may vary
** Two post rolls required per post excluding end and corner posts
*** End Rolls are used for end and corner posts only